TopTon – 1*10G 2*i226-V 2.5G Intel N100 6-Bay NAS Motherboard 6*SATA3.0 2*NVMe 1*DDR5 4800MHz Soft Router Firewall ITX Mainboard
Introduction
After unboxing the Topton N100 NAS motherboard, it’s time to explore what’s available in its BIOS. I’ll walk you through all the main settings and provide an overview of the various tabs, from Main to Save & Exit. Whether you’re curious about what options are available or planning to use this board for a NAS, firewall, or custom build, this guide will give you a better understanding of the BIOS and its features.
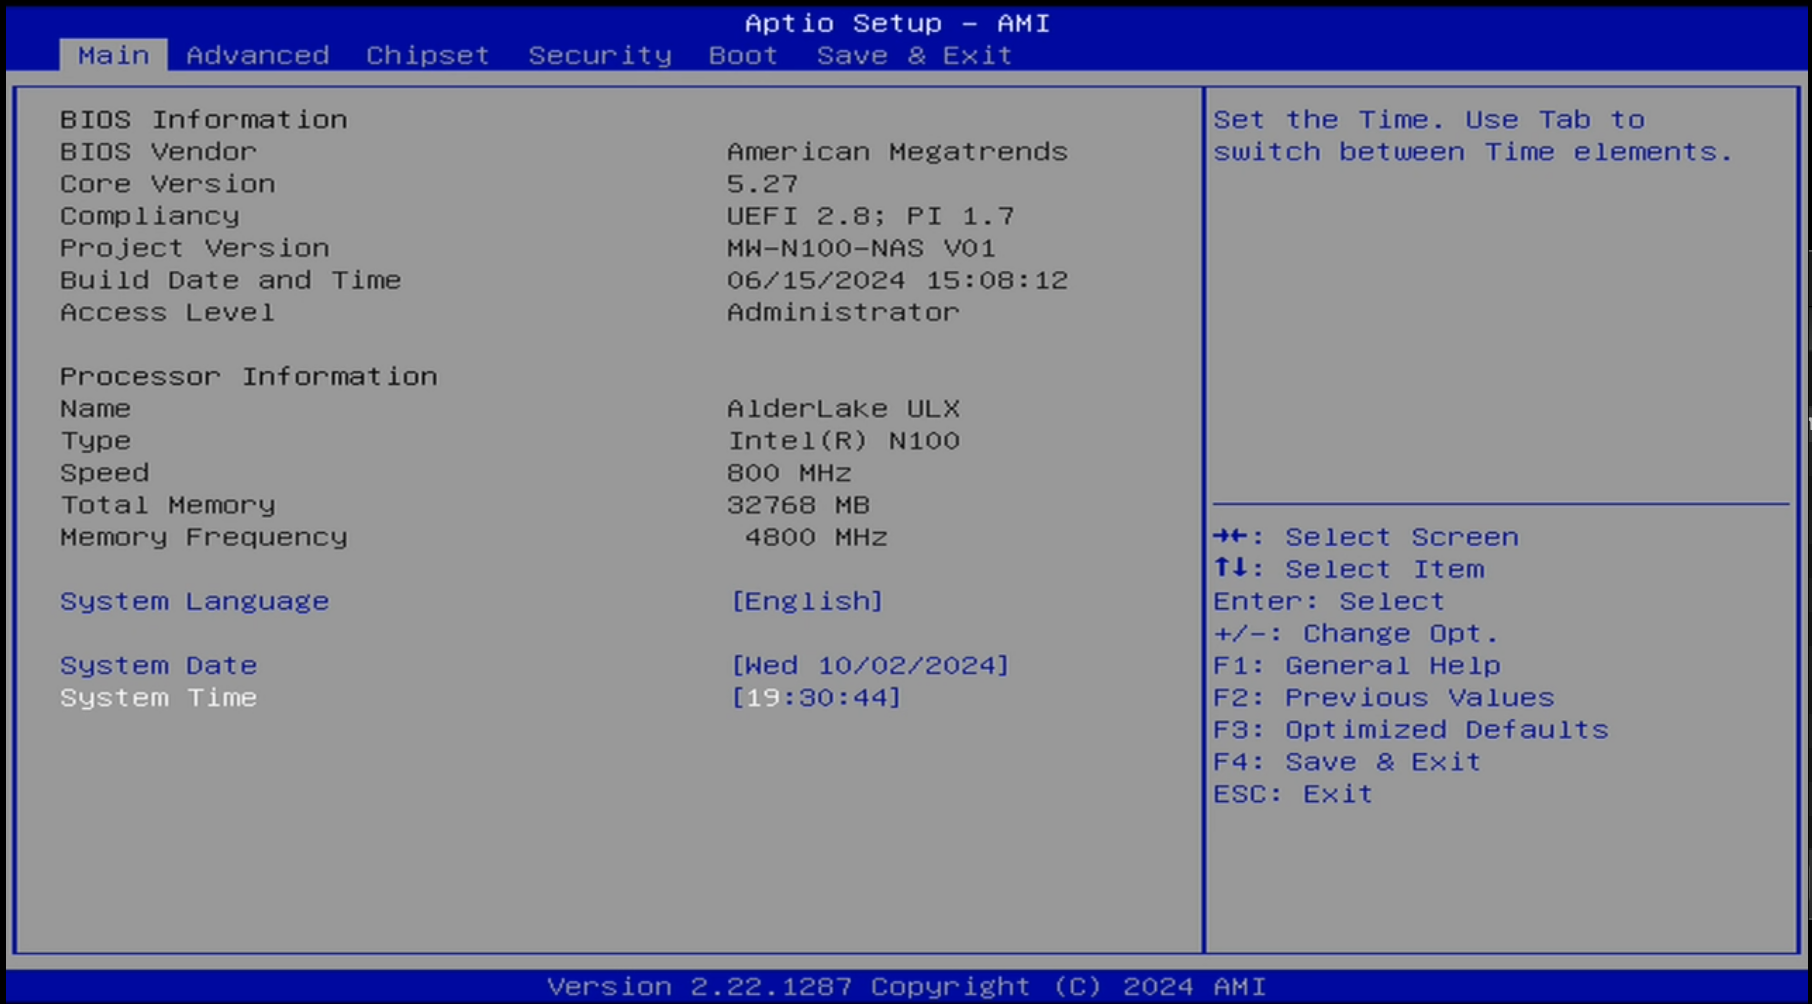
Main Tab
The Main tab offers an overview of the system, showing the basic specs like CPU, RAM, and storage devices connected to the motherboard.
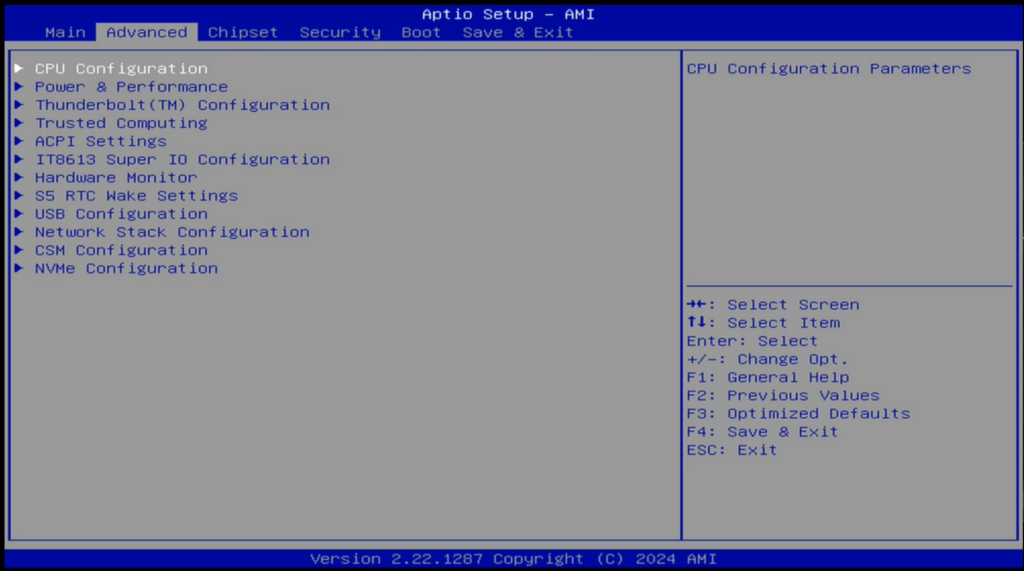
Advanced Tab
The Advanced tab provides control over power management, CPU configurations, and system options that are crucial for optimizing your motherboard.
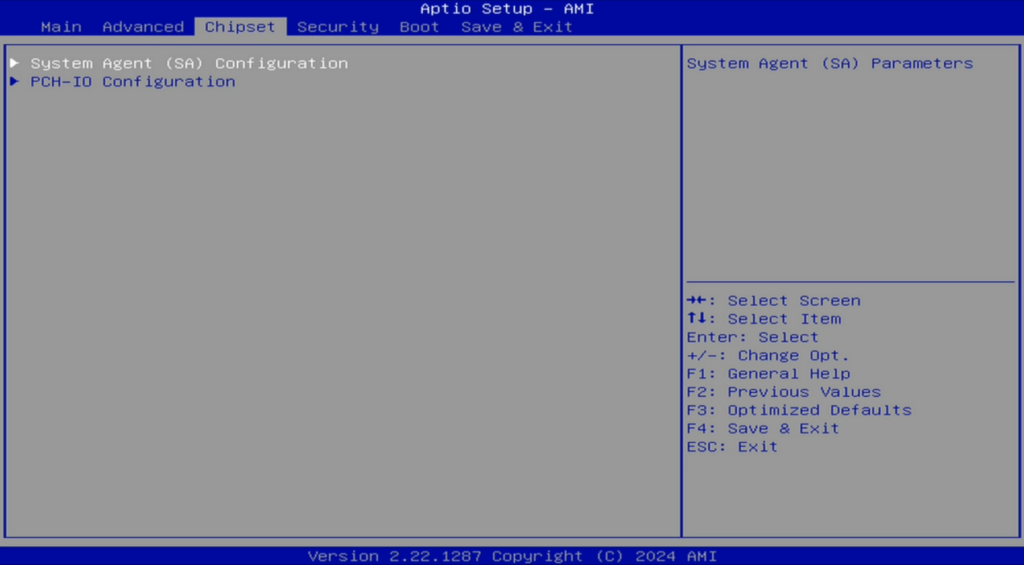
Chipset Tab
In the Chipset tab, you can adjust settings for the Intel N100 chipset, including memory configuration and integrated peripherals.
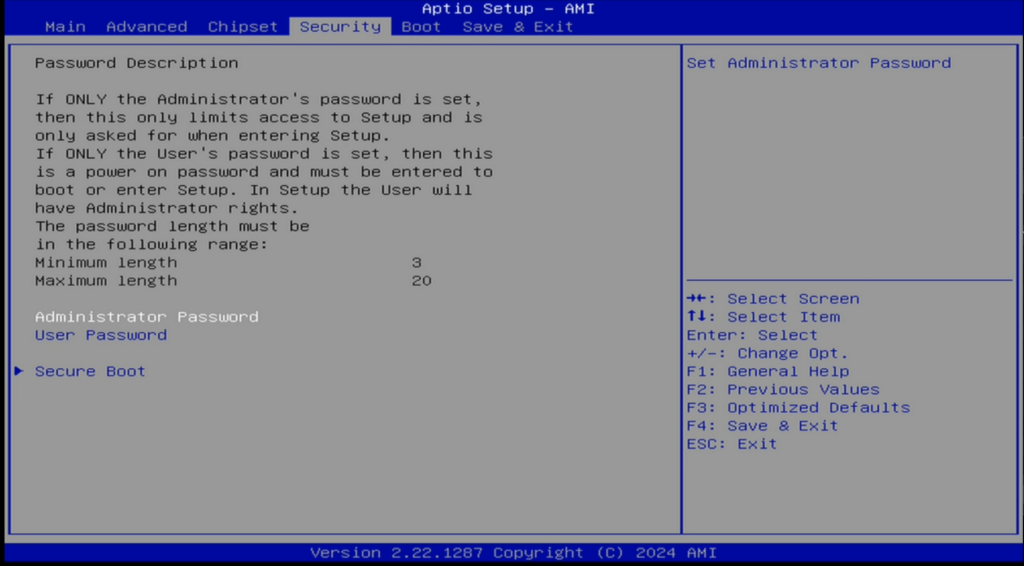
Security Tab
Here, you’ll configure BIOS passwords and security features, which are important for ensuring the integrity of your system.
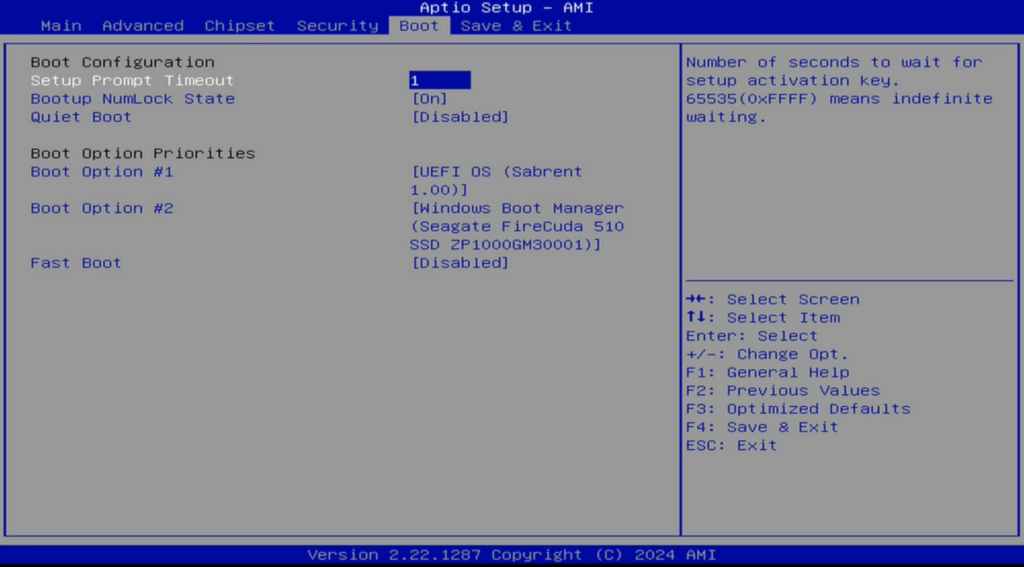
Boot Tab
Control your boot order, enabling or disabling boot devices, and set up your boot priority for efficient startup.
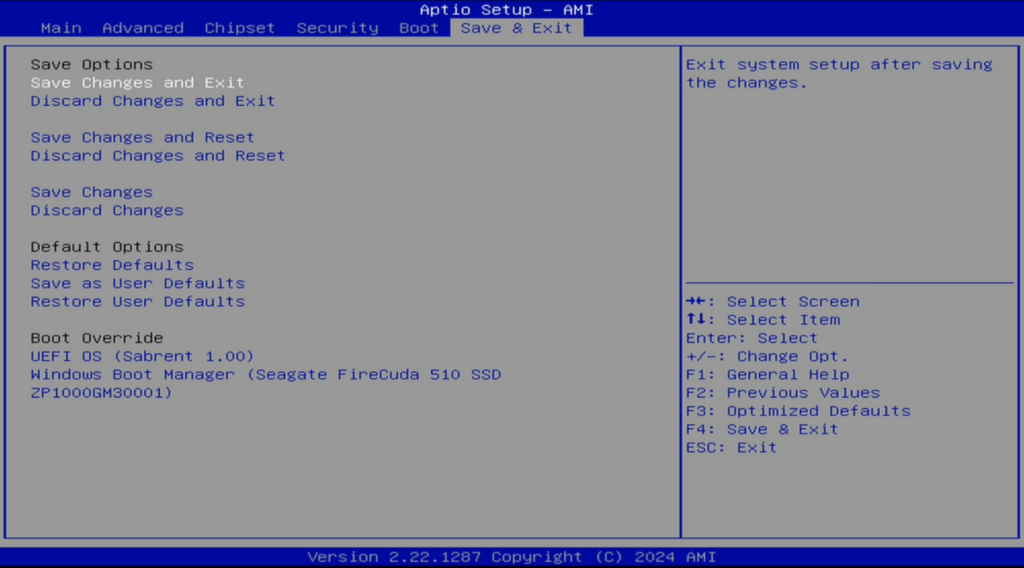
Save & Exit Tab
Once you’ve adjusted all your settings, this is where you save your changes and exit the BIOS. I’ll guide you through how to ensure your configurations are properly saved.
